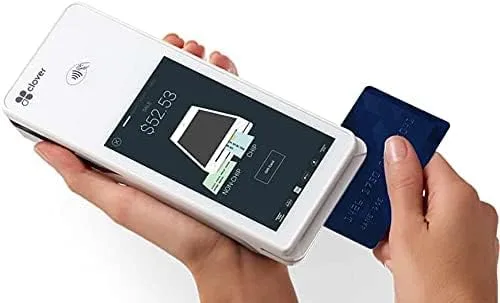
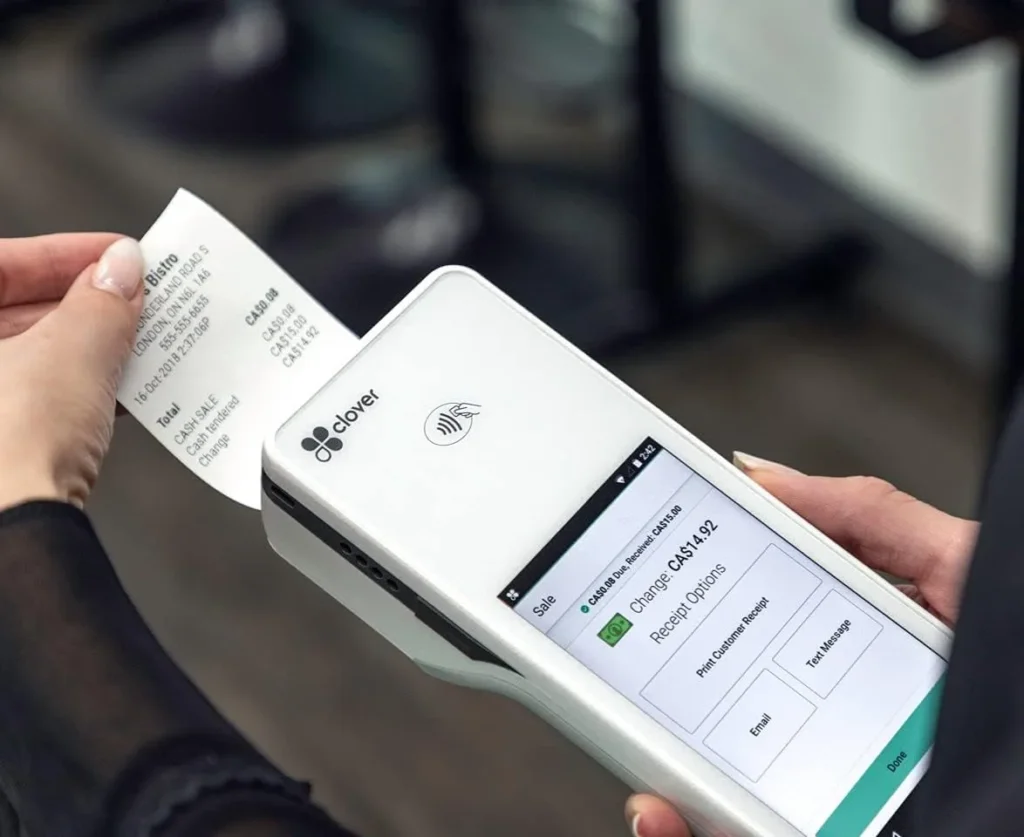
Clover Flex ─ A Complete Handheld Terminal
A compact credit card machine and POS that is handy and trendy. This is a featureful all-in-one device to conduct your business on the go.
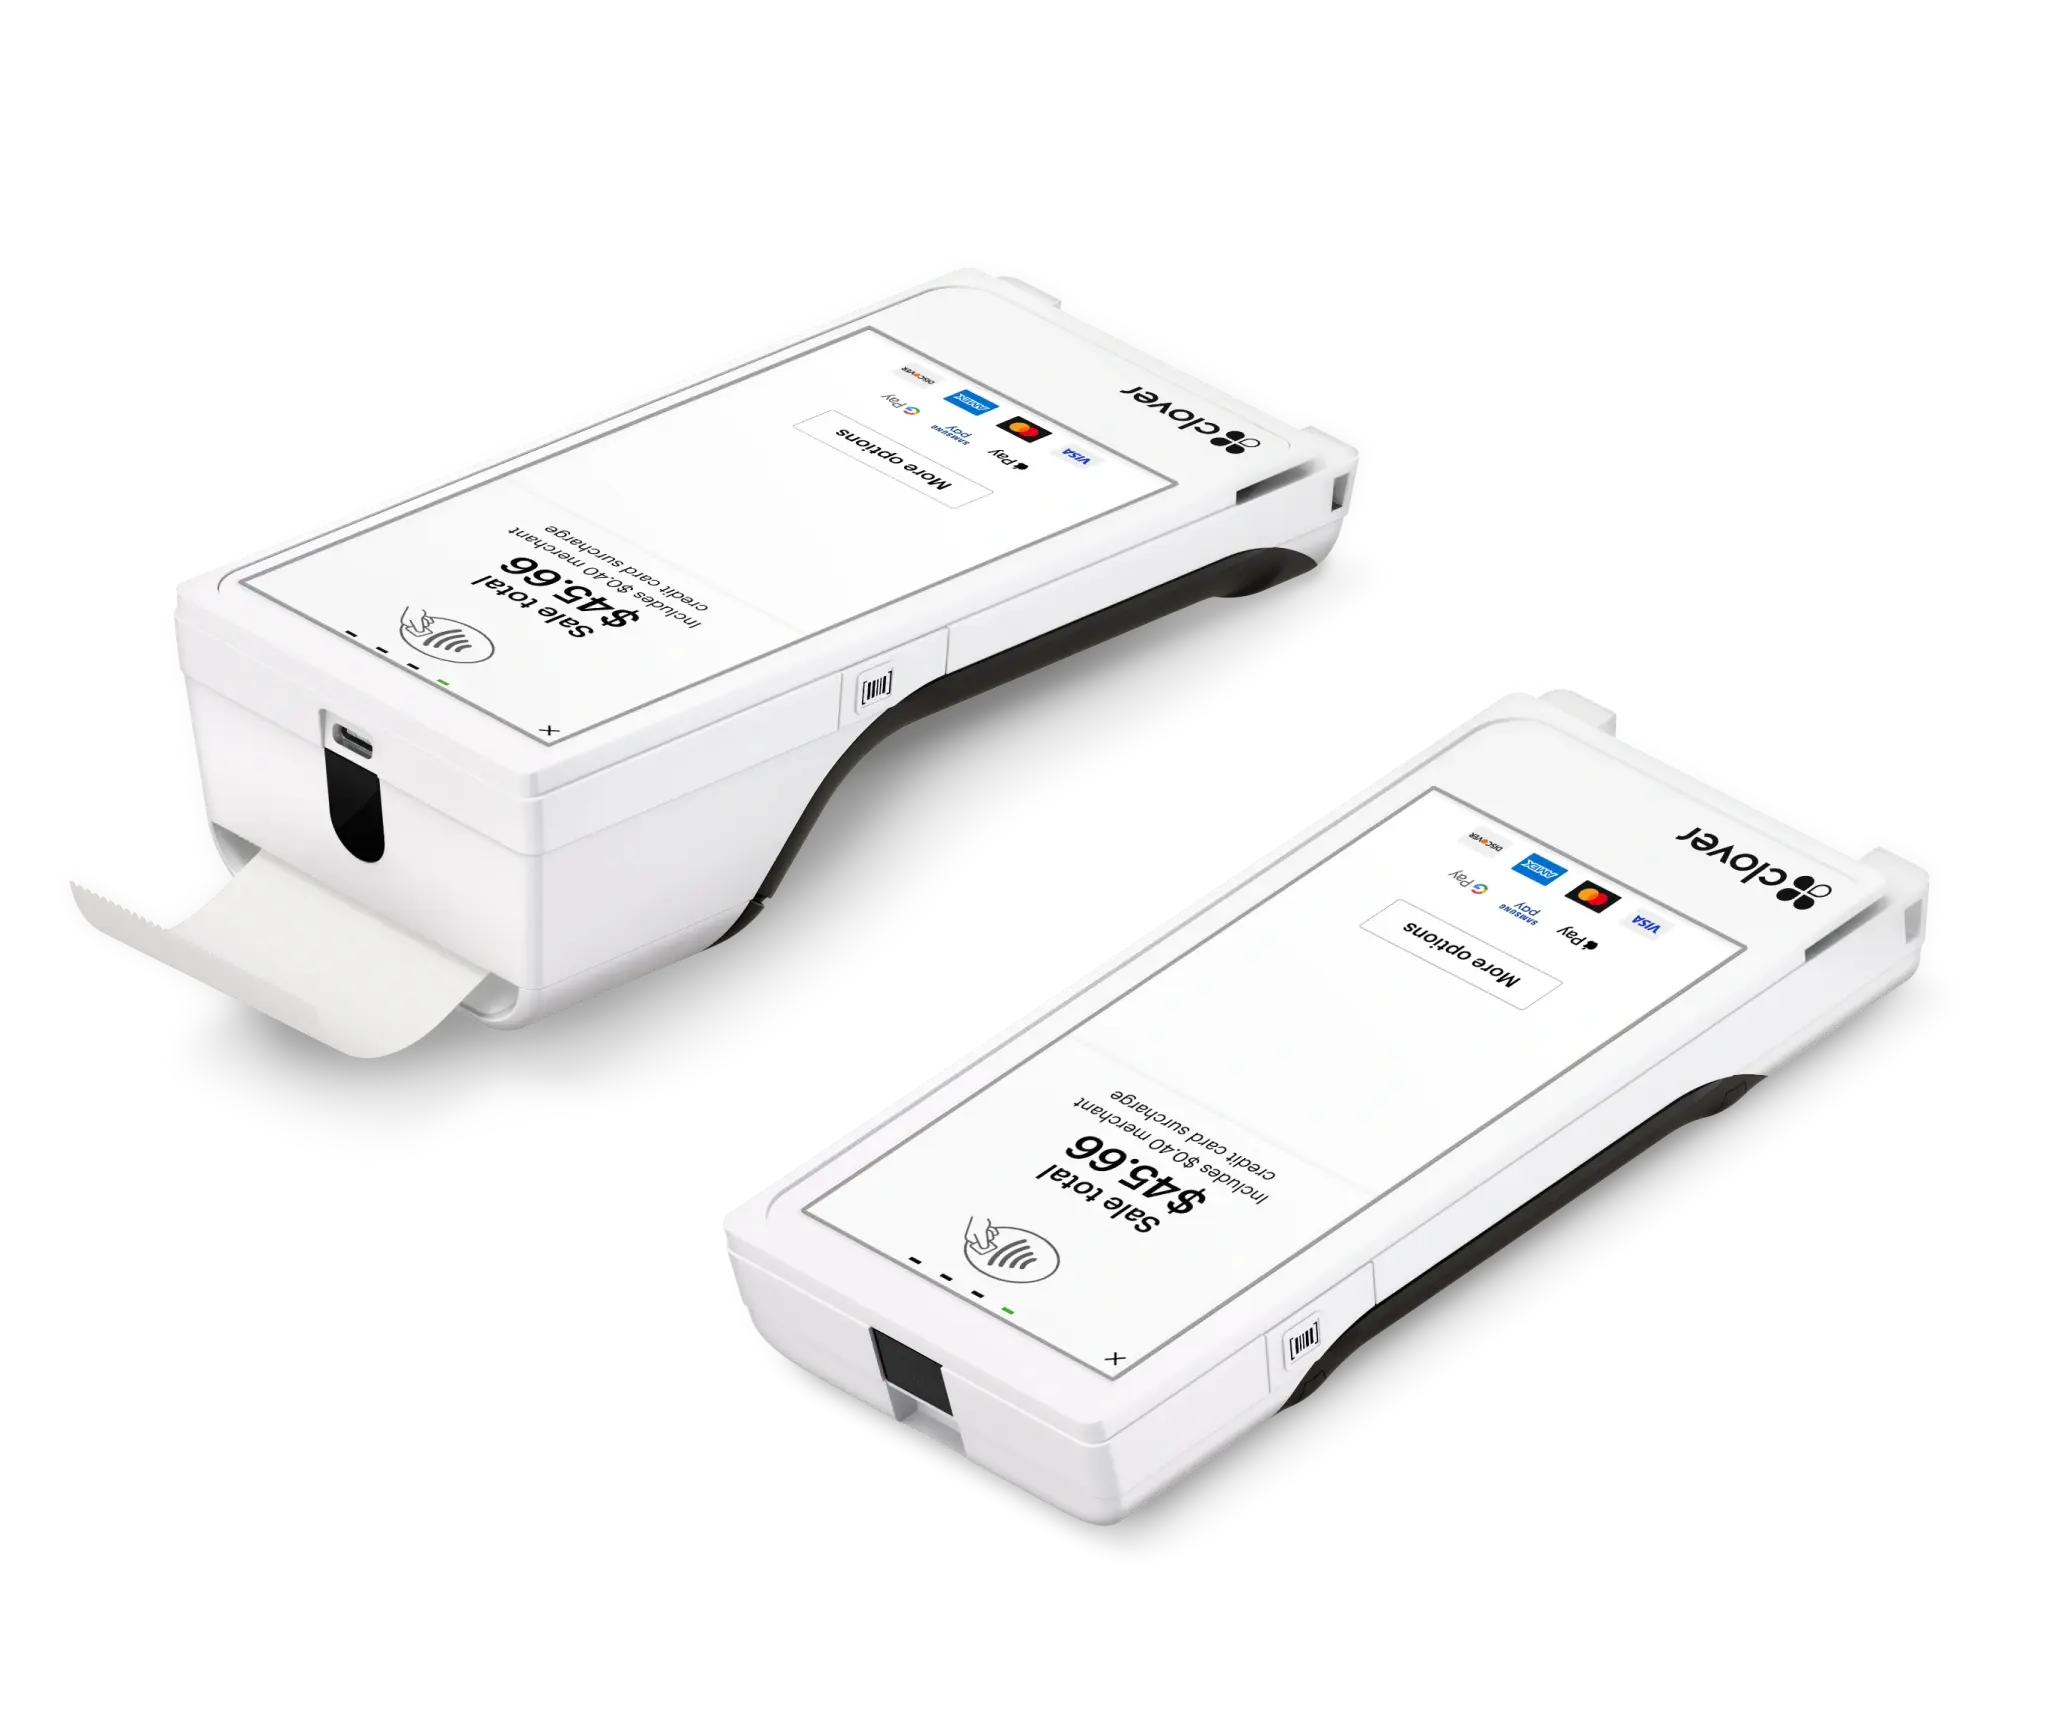
- 8-hour Long Battery Life
- 5” High-Resolution Glass Touchscreen
- Wi-Fi and GPRS/4G Connectivity
- Try Portal- Monitor your sales and invoices at no cost
- Biometric Security in Fingerprint Scanner
Product Features
- Payment Options: Accepts swipe, chip, and contactless payments, including Apple Pay, Google Pay, Samsung Pay, etc.
- Easily pairable with other Clover devices to offer a complete area solution.
- Receipts: Built-in thermal printer for paper receipts and text/email for digital receipts.
- Right out of the box, it's operational.
- Camera & Scanner: 1D/2D barcode scanner/camera
- Cloud base reliability and functionality
- Keep track of your numbers from anywhere.
- Personal inventory manager.
- Rapid Deposit: Transfer your funds into the bank in seconds.
- Convert future credit card sales into readily available working capital though the Clover Capital facility.
What’s In The Box?
The following will be inside the box with your purchase.
- Mobile portable terminal
- User Guide or Quick Setup Guide
- Receipts for thermal Printer
- The power cord to connect the dock
- Power dock to connect the charging cradle
- Charging cradle to save the battery life
- Decals to remain in your window
- Sim card (optional) for cellular connectivity like 4G
- Screwdriver compatible with device's hardware.
After reading about the features and knowing what’s inside the box, if you think it cannot get any better, let us tell you about the built-in loyalty program it offers. It increases your customer base by pleasing your most loyal and profitable customers by offering them promotions to reel them in and keep them loyal. Additionally, their Gift Card will also help increase sales.
This wireless device has a App Market, which comes built-in. The market app has so many apps and features to customize your handheld scanner that it is impossible to explain in a few words.
Key Takeaways
The Clover Flex POS is compact and versatile compared to a simple card machine. It combines payments, inventory, and customer management into a central hub. The built-in tools and features make your business run smoothly, and you can download more apps from the its App Market to enhance your user experience while accepting payments on the go.
FAQs
Make sure the charger should be tightly connected to the charging dock. After that, check the power adapter connection, and the plug should be adequately secured to a power source.
These are the steps to set up and use the device:
- Set up the hardware.
- Connect the device to a network, whether Wi-Fi or 4G.
- Activate your POS terminal by entering your activation code in your email.
- Set up your admin account.
- Install apps through Apps Market.
- Set up the printer by installing a paper roll.
- Customize the device’s passcode, tip, and signature settings.
- Select a plan.
- Change the employee’s login and password.
- Start making transactions.
For details about these steps, please download the device manual.
A full charge of the battery will last up to 8 hours.
The dimensions for the drawer are as follows: 19.4 x 19.4 x 6.4 inches
- Detach the power cord from its charging cradle.
- Keep pressing the power button for longer than 30 seconds.
- After the device has been turned off, press the power button once more until the company’s logo appears.
- Reconnect the power cord or reinstate the terminal on its charging cradle.
- Enter the passcode on the prompt.
The thermal paper size of the station is 3 1/8 inches by 230 feet. The internal printer uses thermal rolls that are 2 1/4 inches wide by 85 feet.
The station is a portable POS system that doesn’t have a built-in wallet; it integrates with digital wallets. Customers can make payments by tapping, inserting, or swiping cards and using mobile wallets. Transactions are securely processed and authorized by the Clover platform.
To use the barcode scanner on POS:
- Open the Clover app.
- Find the barcode scanner option.
- Activate the scanner.
- Position the barcode in the camera’s viewfinder.
- The scanner will instantly catch and scan the barcode.